I am in a project sort of mood. I am currently working on a large cross stitch, decorative spring swag, writing a book and a little something for a friend who is expecting. So really, no much at all. So I decided I should not be so selfish and decided to add in a little heart made love project for Hubs for Valentines Day.
We all have our habits when we enter the house. Some people vomit their belongings all over the kitchen counters (cough) and other throw them in a small designated place were very cute tiny hands can reach.
I decided to fix the issue Hubs was having with his belongings missing, damaged or smudged. I recently went on a great adventure and collected some sea glass and numerous pieces of drift wood.
Supplies
Piece is driftwood (I suggest a strong yet thinner piece. You need one you can drill through.
Drill (wood bites would be helpful)
Hammer
Nails
Knobs
Handles
Picture brackets
Instructions
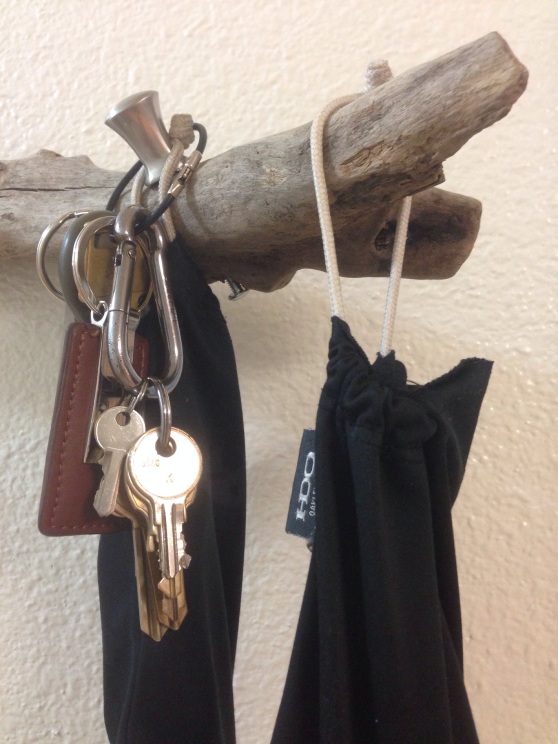
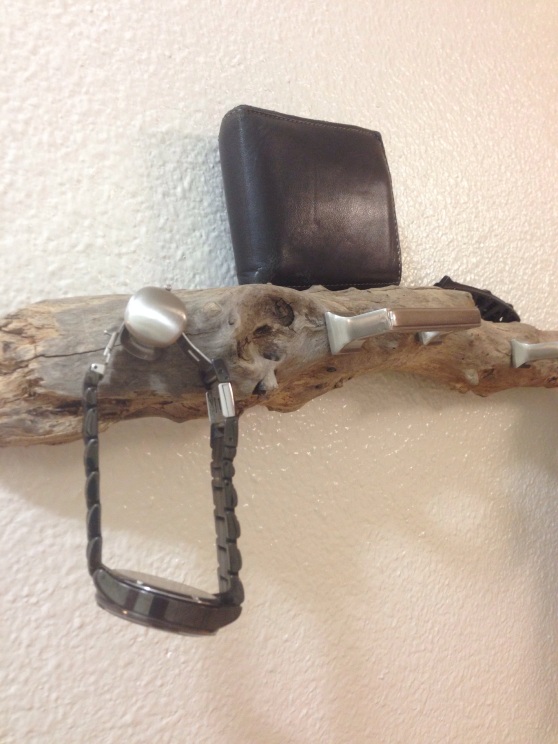
First I found a semi flat piece of driftwood. I wanted some texture to it. So I didn’t want a perfectly flat piece. Next, I hammered in the picture brackets so I could hang it. For my piece I used two. Is make sure it would be sturdy when hanging on the wall. Then I drilled the holes, broke a bit on a hole, had to drill new holes, then finally asked the Hubs to help. Here was the issue- my drill bits were too short to go all the wall through the wood. Which is what you need so you can screw the knobs and handles on. So we found a longer bit and some arm muscles and I drill it. Lastly I twisted the knobs and handles on and hung it up.
Tips
Get a drill bit longer than the width of your wood.
We had to go back to the store and get longer screws. The screws that were supplied with the knobs and handles were too short to go all the way through. Something I did not think through at first
Measure and mark your holes before you still. Make sure they line up. My knobs I drilled upwards into the wood. So the knobs were pointed more upward. This way when Hubs hung something on there it would not slide off and hit the floor.
Use a slightly larger drill but than your screw. It will make it easier to slide all the way through. We did buy some washers and used them for holes we made slightly to large.
Finally- use a power/electric screw driver! Do not attempt this project if you think you can accomplish it by a hand powered screwdriver. It will not work, break your screwdriver and leave multiple blisters on your hand. Don’t ask me how I know.


